“When speed gets in the blood, one must drive to live. Everything one does in life, even love, occurs in an express train racing toward death.”
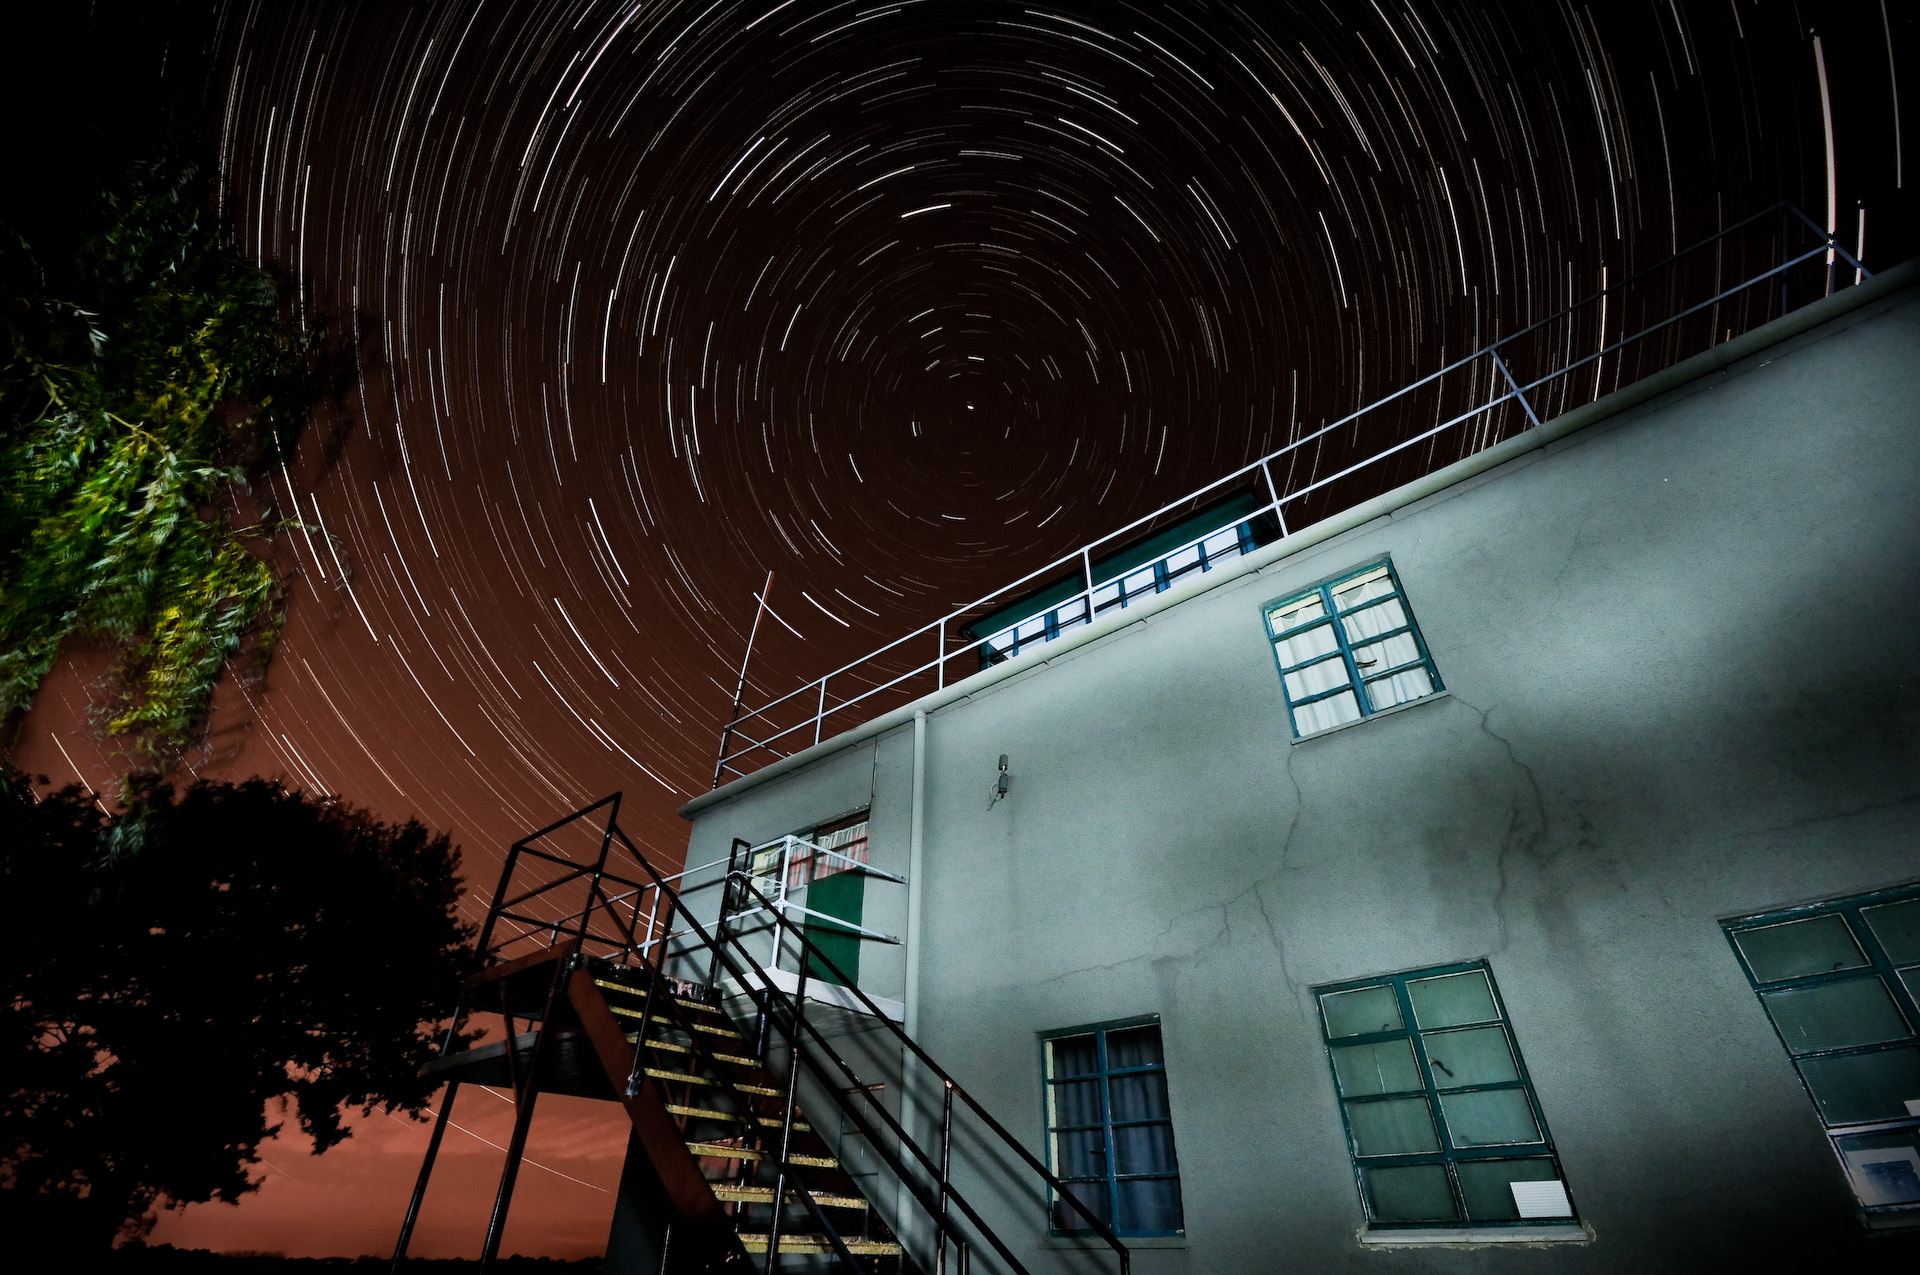
We have been itching to do a star trail picture for a long while and on Monday night decided to head out to Rougham Control Tower (Google Map) on a cold frosty night with aching stomach.
The set up to do this picture was as follows:
1. Camera firmly mounted on a weighted tripod. With a hot shoe spirit level ensured the camera was horizontally level. With a compass and locating the great bear ensured that the camera was pointing due north towards the pole star (to obtain the circle of stars).
2. The camera, a Nikon D300, was set to manual mode, 30 second exposure, aperture wide open on the Sigma 10-20 at f/4, focal length of 10mm, manually focused to infinity and the ISO adjusted with a number of test shots until the stars would appreciably show, in this case ISO 800 (owing to the background light off nearby Bury St Edmunds and Moreton Hall). Continuous shooting mode was enabled with 100 exposures maximum batch limit. The white balance was set to Daylight.
3. Using a wired remote release the shutter was triggered and the remote release locked down. The camera will now continuously take 30 second exposures (long enough to register the stars but short enough not the significantly register the foreground and back lighting) automatically for 100 exposures.
4. 10 minutes in and a Muntjac deer came barrelling through a hedge and across the grass till it bounced off the tripod and me. So after some cursing, realignment and brushing myself down, I started again.
5. After the 100 initial exposures, the camera was set to f8 and focus to hyperfocal distance so that we can take one image where I light painted the control tower with a 3W LED torch (using day light white balance appeared accurate whilst giving a gentle glow to the background light in the distance).
6. Finally 1 last image was taken with the lens cap on as a dark frame for later noise assessment during post processing.
7. So after 102 images, feeling very cold and the imodium wearing off, I headed back home after completing the tedious part.
Now for the post-processing.
1. This could have been done by loading the stack of images into Photoshop and use “lighten” blending but the memory requirement would have been horrific with full size 12.3MP camera images.
2. Instead we used an application called Startrails to do the blending. The 100 normal images plus the light painted one was selected for the blending and the single dark frame one. As noise wasn’t too bad for the camera a single dark frame was ok. Otherwise 3 dark frame could be used taken every 33 images just in case there is any variance. The images where blended and the result saved as a TIFF. The application can do a video of the star movement but didn’t seemed to work on any of my Vista PCs.
3. The TIFF file was then imported and converted to DNG into Adobe Lightroom where a little curve work was applied to improve contrast, some luminance and saturation of colours and final output sharpening on export for the image posted here.
So the lessons learnt from this exercise were:
1. Bring a hat and gloves, it was freezing at ground level.
2. Find a location with less background light.
3. Bring more hot coffee.
All an in a very pleasing first attempt at doing star trails and surely try this again using other buildings.
Update: Looked again at using Photoshop to do the merge of all 101 pictures (not including the dark frame). Easiest method is to use the Analysis script in the file menu, then browse and add all the images you wish to include, set the analysis method to “Maximum” and away you go. Let the PC chug away and after over an hour you end up with a 22GB temporary Photoshop file and a very large smart object which you should then flatten to a layer for final tweaking.
Comparing the results, the Photoshop version was a little cleaner but Startrails only took 5 minutes to produce the combined images with little memory and temporary file overheads. However if a few number of much longer exposures was used then I’d probably recommend the Photoshop Analysis script approach.
